
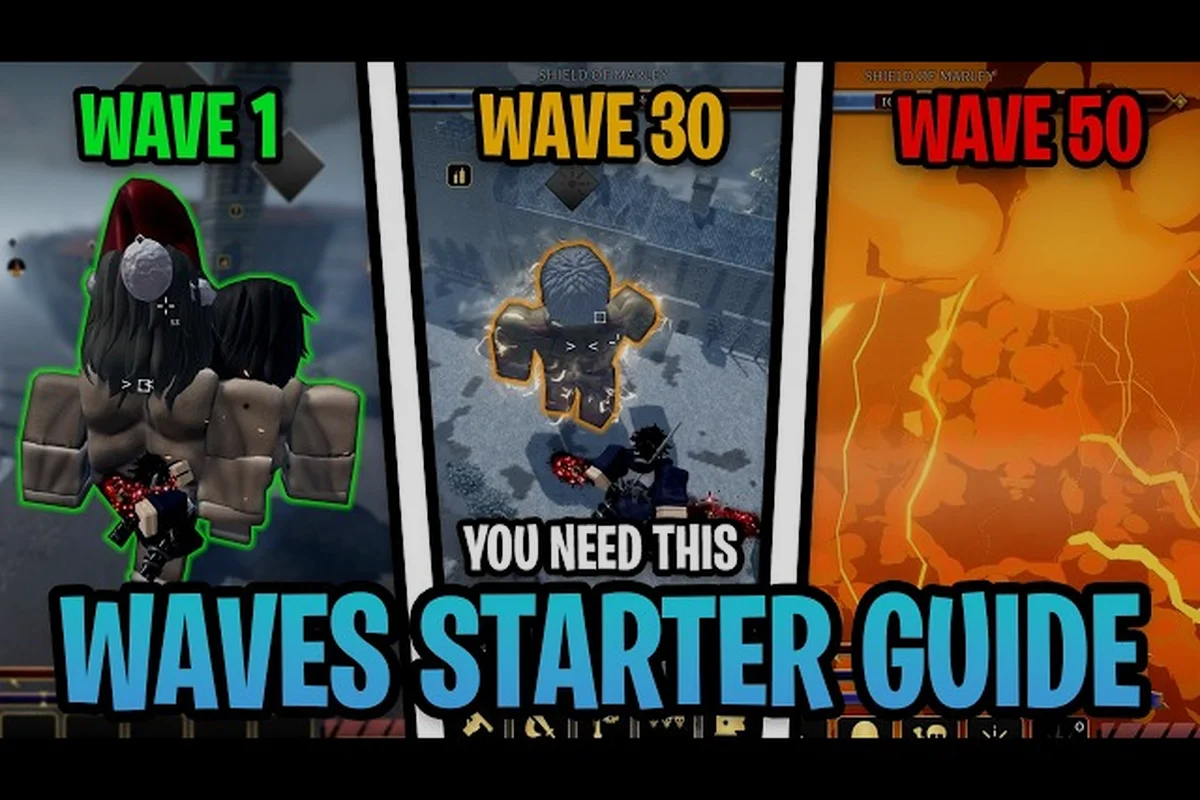
Attack on Titan Revolution waves matter because they provide the main Shard farming route and test whether a build can survive sustained combat. Wave 50, Rumbling, and Warbringer each mark a different progression checkpoint: wave 50 tests whether your damage, stamina, and character mastery can handle a tougher Story Mode push, while Rumbling and Warbringer serve as major Shard sources tied to mission objectives. A practical plan toward wave 100 should therefore compare clear times, team survivability, and weekly Shard income rather than treating each wave as an isolated boss fight.
Waves Overview
The endless Waves mode is one of Attack on Titan Revolution’s most reliable sources of Shards, and the difference between a strong run and a failed one often comes down to preparation. A successful run depends on sustained damage, target priority, gas management, and blade durability rather than a single explosive opening.
Community guides treat wave 100 as a useful milestone, while wave 50 is an early checkpoint that separates a developing account from one ready for longer farming sessions. The community waves guide by Plas shows why players keep pushing deeper: the mode rewards a loadout that remains functional across many rotations. Attack on Titan Revolution missions remain useful for unlocking features and completing progression objectives, but Waves reward focused play more directly. If your damage is inconsistent, review the best Attack on Titan Revolution build before attempting another deep run.
| Wave goal | What it tests | Main reward value | Practical target |
|---|---|---|---|
| Early waves | Basic attacks, movement, and target selection | Small Shard income | Learn the encounter rhythm |
| Wave 50 | Resource limits and sustained damage | Meaningful Shard farming | Reach with a stable build |
| Waves 51–75 | Enemy density and durability checks | Better farming efficiency | Reduce unnecessary movement |
| Waves 76–99 | Build sustain and execution | High-value runs | Avoid early mistakes |
| Wave 100 | Endgame challenge and account milestone | Valuable late-wave income | Reach with a polished setup |
Why Wave 50 Changes the Run
Wave 50 is not simply a larger version of the opening encounters. The pressure changes because enemies have more opportunities to surround the player, while each rotation demands more gas and blade condition. Instead of chasing the nearest visible target, players need to identify which enemy creates the greatest danger and remove it before the formation becomes difficult to manage.
The practical breakpoint is resource endurance. Damage that looked excellent in a mission may be inefficient in Waves because the player spends stamina repositioning, attacks blades faster than expected, and cannot stop to recover at a convenient moment. A reliable wave 50 clear usually leaves enough gas for the final rotation and finishes without multiple blade resets.
The Shard Farming Objective
The practical goal of Attack on Titan Revolution shards farming is not to push as far as possible every session. It is to reach a repeatable depth where rewards remain worthwhile and the run rarely collapses because of a single mistake. Many players settle into a loop: complete a strong run, spend the earned Shards on permanent improvements, and return with greater sustain.
| Player situation | Best farming approach | Why it works |
|---|---|---|
| Below wave 50 | Repeat a comfortable depth | Builds Shards without wasting consumables |
| Around wave 50 | Stabilize the build before pushing | Reduces inconsistent early failures |
| Between waves 51–75 | Prioritize gas efficiency | Supports longer rotations |
| Waves 76–99 | Improve blade durability | Prevents damage from collapsing mid-run |
| Targeting wave 100 | Polish target priority and sustain | Converts near-misses into milestone clears |
Wave 50 Preparation
Preparation for Attack on Titan Revolution wave 50 begins with the failure point, not with the biggest available upgrade. Players often spend resources on raw damage while ignoring gas, blade durability, or healing. Since Waves demand repeated rotations, the practical ceiling may be closer to the sum of those requirements than to a single damage number.
Build Checklist Before the Run
A dependable run should have answers for movement, sustained damage, recovery, and blade wear. If one category is severely underfunded, the account may reach wave 50 but struggle to finish it. Compare the checklist with a build designed for consistent performance, including the late-game build for a budget-friendly setup.
-
Gas reserve: Keep enough mobility for repositioning instead of spending every point on an immediate attack.
-
Blade condition: Carry or obtain replacements before durability becomes a forced stop.
-
Damage consistency: Favor attacks that can be repeated across several rotations without relying on one critical opening.
-
Recovery plan: Decide whether healing occurs between waves or is saved for emergency moments.
-
Target priority: Identify the enemies that can interrupt the rotation before the group reaches the player.
| Preparation area | Weak setup | Improved setup | Result |
|---|---|---|---|
| Mobility | Constantly out of gas | Reserved gas for urgent dodges | Fewer forced engagements |
| Blades | Low-condition weapon entered late waves | Replacement plan for every block | More damage across the run |
| Healing | All healing used immediately | Emergency-only use policy | Better chance of finishing |
| Damage | One powerful opening | Repeatable damage sources | Stable performance across rotations |
| Targeting | Attacks the nearest enemy | Removes dangerous support targets | Cleaner enemy formations |
Gear and Upgrade Priorities
Before pushing Attack on Titan Revolution waves, improve the upgrade that prevents the most common run-ending event. If blades break frequently, durability takes priority over a marginal damage increase. If gas runs dry, mobility upgrades can produce a greater practical gain because more attacks become possible.
The crit build overview can help players compare damage options, but a critical strike should be treated as a bonus rather than the only source of output. A build that cannot maintain its rhythm will usually earn less over a long run than one with steadier, repeatable damage.
Missions and Daily Objectives
Completing Attack on Titan Revolution missions is still important because progression objectives can unlock systems, grant resources, and direct players toward stronger options. However, missions should complement Waves farming rather than compete for every available attempt. A simple routine is to clear required missions first, then begin the longest practical Waves session with a stable loadout.
| Activity | Best use | Efficiency principle |
|---|---|---|
| Story missions | Story progress and feature access | Clear required objectives first |
| Daily missions | Routine resource income | Bundle them with a short farming session |
| Boss missions | Gear and combat checks | Test the build before long Waves runs |
| Waves | Main Shard source | Push until performance drops |
| Raids | Serum and gear progression | Alternate with Waves during the week |
The verified AoTR Roblox group discussion notes that the server supports groups of up to 20 players and that the official group bonus can add 5% XP and 5% Gold. Waves still pay Shards, while raids remain valuable for serum and gear, so alternating activities gives the account broader progression.
Rumbling and Warbringer
Rumbling and Warbringer are the two names players need to understand when planning deeper Attack on Titan Revolution waves. Community gameplay identifies Warbringer as a major threat that can disrupt normal positioning, while Rumbling changes how the battlefield should be managed. Because exact move details vary with the current version, players should verify enemy behavior in-game rather than relying on stale instructions.
Warbringer Priority
Warbringer should receive immediate attention when it enters the fight because its presence can alter the safest attack position and punish players who keep a fixed targeting pattern. The key is not merely dealing damage; it is preventing Warbringer from controlling the space around the player and forcing repeated repositioning.
| Threat | Main danger | Best response |
|---|---|---|
| Standard enemy group | Pressure from several angles | Clear the nearest cluster quickly |
| Support or ranged enemy | Damage outside the main engagement | Remove it before sustained fighting |
| Warbringer | Battlefield disruption and control denial | Prioritize safe repositioning and focused damage |
| Heavy durability target | Time lost while attacking | Commit only when positioning is secure |
| Annoying ordinary enemy | Minor damage but persistent distraction | Clear during a safe opening |
A strong build can still lose to poor target priority. Rather than chasing the enemy with the largest health pool, players should ask which target makes the next movement impossible. This distinction becomes especially important as Attack on Titan Revolution wave 50 and later rounds create overlapping threats.
Managing the Rumbling
The Rumbling is best understood as a battlefield-wide condition that raises the cost of standing still or failing to maintain control. The safest response is to preserve mobility, identify safe angles early, and avoid using every gas point on damage during the first clash. Players who understand the Rumbling usually save resources for the moment the battlefield becomes most unstable.
| Phase | Player objective | Resource behavior |
|---|---|---|
| Initial contact | Read the formation | Avoid unnecessary attacks |
| Escalation | Keep a retreat or dodge route open | Hold gas for repositioning |
| Peak pressure | Remove the most disruptive target | Spend resources selectively |
| Recovery | Reestablish a safe rhythm | Avoid premature healing |
| Late rotation | Finish with efficient damage | Do not overextend for one target |
Reading Community Demonstrations
The noob-to-pro Roblox walkthrough by OMEGA EX offers a practical visual comparison for newer players. Watch how positioning changes when multiple enemies arrive, then compare that behavior with your own runs. Community guides are useful for spotting patterns, but they do not replace testing against the current server version.
Players should also document which warning signs appear before a heavy attack. The most useful information is actionable: which direction the enemy approaches, how much space remains after a dodge, and whether attacking from the rear is safer. These observations make the next run faster without requiring reckless experimentation at wave 100.
Shard Income per Run
Efficient Shard farming depends on repeatable routines, not on playing randomly for long periods. A short successful run can produce more net progress than a longer run that ends early because of poor positioning or ignored blade condition. The key is to set a target depth, execute a clear rotation, and stop when the run stops being efficient.
The Session Structure
Start each farming session with a known goal. If the target is wave 60, reaching it repeatedly is more valuable than occasionally reaching wave 80 with unstable results. The target should sit close to the player’s current average depth, where small improvements can raise clear rates quickly.
-
Choose a target depth: Pick a wave just beyond the current consistent clear.
-
Prepare consumables: Confirm gas, blade, healing, and mission requirements before entering.
-
Read the first formation: Identify dangerous targets before committing damage.
-
Prioritize efficiently: Remove enemies that block movement or amplify danger.
-
Preserve the rotation: Keep enough resources for the final portion of the wave.
-
Bank the session: Spend the Shards after the run instead of making rushed upgrades between attempts.
| Session goal | Recommended depth | Upgrade after banking |
|---|---|---|
| Short, consistent farming | Current reliable clear | Low-cost permanent improvement |
| Moderate progression | About five waves above average | Gas, durability, or healing |
| Milestone push | Ten waves above average | Remove the known failure point |
| Wave 100 attempt | Only after several stable deep runs | Finalized loadout and recovery plan |
When to Stop a Run
Stopping early is a skill when the next few waves would consume resources faster than they return useful rewards. Watch for repeated signs: constant gas shortages, blade replacement after every rotation, and enemies surviving just long enough to interrupt another approach. If the same mistake ends three runs in a row, return to a lower depth and correct that issue.
| Warning sign | Likely problem | Corrective action |
|---|---|---|
| No gas for the last enemies | Mobility budget too small | Upgrade gas or reduce wasted movement |
| Blades fail near the finish | Durability too low | Bring a replacement or improve blade condition |
| Healing consumed early | No recovery reserve | Save healing for emergencies |
| One enemy causes repeated escapes | Targeting priority is poor | Practice disabling it earlier |
| Progress resets after a mistake | Build lacks consistency | Stabilize before pushing deeper |
Community reports describe Shards as the main reason players return to Waves, while wave depth increases their value. Because exact reward totals may change with updates or player progression, treat any specific number shown in an older video as a reference rather than a guaranteed current payout.
Advanced Attack on Titan Revolution Waves Strategy
Deep runs require a different decision process from ordinary missions. Every unnecessary dodge consumes gas, every attack on the wrong enemy extends danger, and every neglected blade condition reduces the final output. Advanced players improve the entire sequence rather than trying to solve only the last wave.
Optimize the Damage Cycle
A productive cycle follows a clear order: create space, select the target, attack, disengage, and repeat. Beginners often collapse that sequence by attacking continuously, which makes them predictable and drains gas. Practice separating positioning from damage so the character is never forced to attack from a poor angle.
Target cycle: When the enemy formation changes, stop the old cycle and rebuild it around the new danger. During a Rumbling phase, for example, abandon a previously safe firing point if the titan’s approach compresses your escape route, then reassess spacing, ODM gas, and the next attack target. In attack on titan revolution wave 50, a sudden shift from a scattered titan group to a focused cluster can make continuous attacking inefficient; resetting the cycle lets you select a safer target, preserve gas for vertical movement, and prevent the Warbringer from forcing you into a crowded engagement.
Blade cycle: Replace damaged blades before they become unreliable. Track blade condition as its own layer in the damage cycle rather than assuming a strong build can sustain continuous attacks. For example, if a mission repeatedly sends you against groups of titans, the extra durability may be more valuable than raw damage once a blade begins losing effectiveness, especially when ODM gas limits how many attack-and-disengage passes you can complete. Swapping at a safe disengagement point preserves momentum without gambling on a broken strike during a Rumbling or Warbringer encounter.
Respect the Final Rotation
The last part of a wave often decides the result. Many players enter it with low gas, damaged blades, and no healing because earlier encounters consumed too much. A conservative player banks resources before the final phase, while an aggressive player may try to finish faster at the cost of stability. The better option depends on the build, but both approaches require a planned reserve.
| Playstyle | Strength | Risk | Best use |
|---|---|---|---|
| Conservative | High consistency | Slower clears | Standard farming |
| Aggressive | Fast early pressure | High resource loss | Builds with strong sustain |
| Balanced | Adapts to each wave | Requires active decisions | Most late-wave runs |
Maintain Two Loadouts
Two loadouts can reduce friction when one build handles early movement while another performs better during long rotations. For example, one setup might favor quick repositioning and another could prioritize blade endurance. Players should compare both in the same area rather than switching randomly between sessions. This approach also helps when testing community-reported perks or builds. The community-tested Divine perks guide can provide additional options, although showcase results do not guarantee identical performance in every mission or wave.
Final Push Checklist
Before attempting wave 100, confirm that the player can clear nearby waves without relying on perfect execution. A milestone attempt should be a continuation of an established pattern, not an experiment. Revisit wave 75 or 85, identify where the run becomes unstable, and correct that stage before requesting additional resources. A successful milestone clear is not the end of progression. Players can continue farming higher Shard income after wave 100, but the wave 100 attempt remains useful because it proves the build can handle the mode’s escalating resource demands.
-
Gear condition: Keep every active blade near optimal condition.
-
Recovery reserve: Carry enough healing for one emergency rotation.
-
Gas buffer: Reserve mobility rather than spending it all on the opening target.
-
Warbringer plan: Know how position and targeting change when it appears.
-
Rumbling plan: Identify safe ground early and avoid wasting stamina.
-
Mission status: Finish required objectives so Waves farming does not delay account progression.
Waves Quick Reference
The fastest way to improve is to diagnose each failed run. Most players need only one or two adjustments, such as better target selection or more gas, rather than a completely new build. Use this reference as a repeatable checklist before every session and compare results across at least three runs.
| Wave stage | Primary focus | Common failure | Correction |
|---|---|---|---|
| Opening | Formation reading | Wasting gas | Observe before committing |
| Middle | Resource balance | Overextending | Preserve the final rotation |
| Heavy enemy | Positioning | Unsafe attack angle | Force a safe opening |
| Warbringer | Immediate priority | Ignoring battlefield control | Reset target priority |
| Rumbling | Mobility | Standing in danger | Find safe space early |
| Final wave | Clean execution | Broken blades or empty gas | Bank reserves earlier |
The central lesson is simple: Attack on Titan Revolution waves reward players who manage the whole rotation instead of only the first attack. Treat Shards as the reward for a complete run, not the reason to ignore blade condition, gas, or safe positioning.
Frequently Asked Questions
What is the best way to reach wave 50 in Attack on Titan Revolution?
Reach wave 50 with a build that balances damage, gas, blade durability, and healing instead of maximizing only one stat. Clear dangerous targets early, reserve mobility for the final rotation, and repeat a lower wave until the run is consistent. Stable preparation produces more progress than a rushed attempt with a partially upgraded loadout.
Does the Rumbling make waves 50 and beyond harder?
Yes. The Rumbling raises the cost of poor positioning because the battlefield can become unsafe quickly. Players should preserve gas, identify stable ground early, and avoid spending every resource on the first target. The exact attack behavior should be confirmed in the current version, since community reports can change after updates.
Should Warbringer always be the first target in Attack on Titan Revolution waves?
Usually, yes, because Warbringer can disrupt positioning and punish a fixed targeting routine. However, players should not rush it from an unsafe angle or ignore a nearby support enemy. The goal is to remove battlefield control safely, while retaining enough gas and health for the rest of the wave.
Is farming waves more efficient than completing missions in Attack on Titan Revolution?
They serve different purposes. Waves are the main Shard source, while missions support story progress, unlock requirements, and other account goals. Completing required missions first and then running a productive farming session usually offers the best balance, with raids added when serum and gear progression are needed.
Can free-to-win players reach wave 100 in Attack on Titan Revolution?
Yes, if their build has enough sustain and they improve consistently. Focus on permanent upgrades that prevent failures, such as gas, blade durability, or recovery, instead of chasing small damage bonuses. A milestone attempt should follow several stable deep runs, and community showcases should be treated as possible setups rather than guaranteed results.