
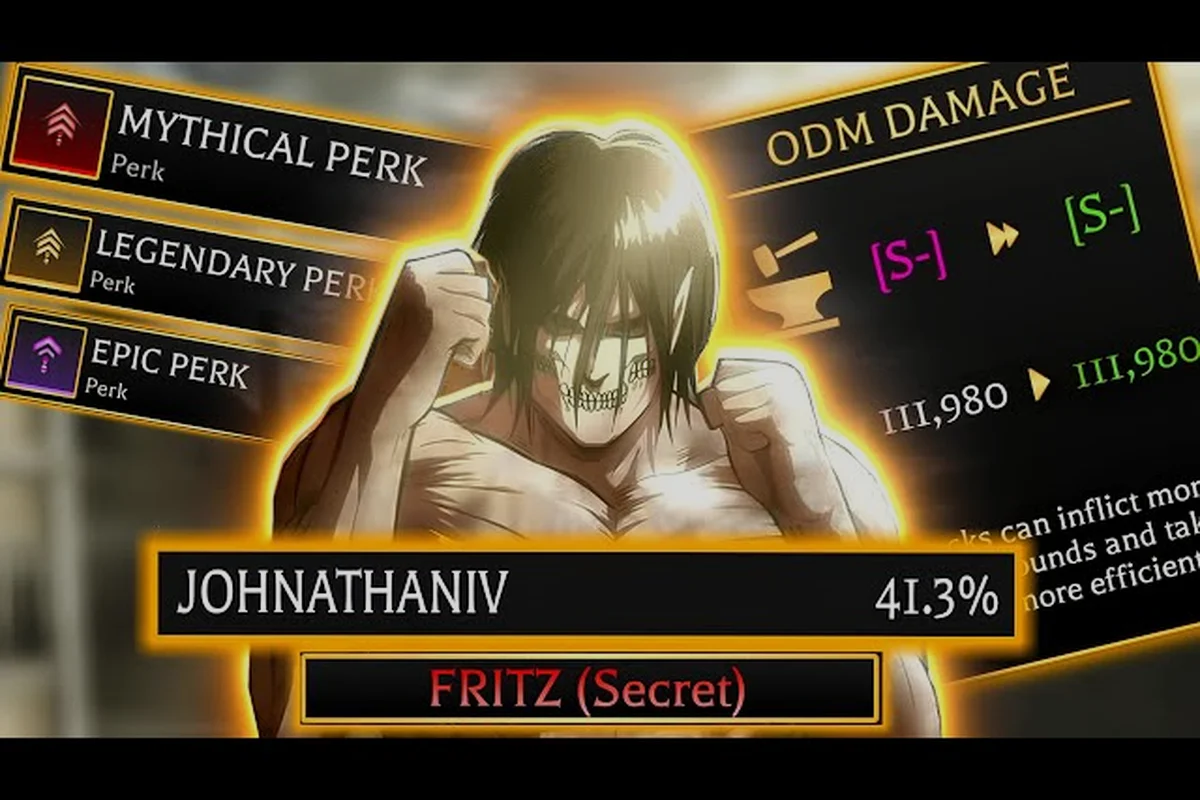
A reliable Attack on Titan Revolution raid guide matters because organized teams clear faster, preserve resources, and convert each run into useful serum and gear rewards. Learn the preparation, target priorities, chest value, and farming decisions that make every raid more efficient.
Preparing for an Attack on Titan Revolution Raid
A strong Attack on Titan Revolution raid guide starts before the team enters the battlefield. Raid performance depends on three connected systems: your personal build, the group composition, and the route you choose. A player can have excellent damage and still lose value by missing chest drops, reviving inefficiently, or spending all consumables on a target that teammates are already handling.
Check the build before matchmaking
Your equipment should support sustained movement and repeated attacks rather than a single explosive hit. The community preparation notes emphasize gas, blade durability, and health because they determine how long a team can remain active. Bring enough mobility to reach dangerous targets, enough durability to keep attacking, and enough healing to recover from mistakes.
| Preparation category | What to check | Practical reason |
|---|---|---|
| Mobility | Gas capacity and ODM handling | Keeps you mobile while crossing targets and repositioning |
| Damage | Gear levels and attack consistency | Reduces the number of attacks needed per target |
| Survival | Health and healing supplies | Protects the rotation from sudden damage |
| Inventory | Space for rewards and consumables | Prevents valuable drops from being left behind |
Before entering, test your normal attack chain in a lower-risk area. If you regularly run out of gas, need repeated healing, or wait too long between strikes, improve those basics first. The Attack on Titan Revolution beginner guide can help with the early progression systems, while experienced players should focus on gear upgrades and attack efficiency.
Build a balanced raid team
The verified game group notes that raid servers can hold 20 players, although the size of the group you join may vary. More people do not automatically create a better run. A coordinated group with clear target assignments usually extracts more value than a crowded lobby in which everyone attacks the same enemy.
A practical team should include several damage dealers, mobile players capable of handling exposed targets, and at least one or two dependable leaders who can call priorities. If an official group bonus is available, the community report lists +5% XP and +5% Gold while active. Confirm the bonus in your own lobby because group conditions and access may differ.
Enter with a resource limit
Raid resources should support a clear, not create an endless supply of attempts. Set a personal limit for healing items and avoid consuming every item on the first elite target. Save emergency healing for a dangerous approach, because unnecessary early use can make a late defensive position impossible.
| Item | Use it when | Avoid this pattern |
|---|---|---|
| Healing | After taking meaningful damage or before a risky engagement | Healing after every minor hit |
| Gas refill | When mobility is needed for a priority target | Ending the run with no gas |
| Strong consumable | A boss phase or clustered enemy threatens the team | Spending it on a common target |
| Raid token | The reward target is worth protecting | Abandoning the objective for a side target |
The same Attack on Titan Revolution attack raid preparation works for the normal raid and the Armored Titan encounter, although the armored version demands stricter gas management and more disciplined target selection. In the standard rotation, prioritize the designated reward target and use gas refills only when positioning or escaping requires extra mobility. Against the Armored Titan, unreliable damage windows make that approach more costly: each missed gas refill or poorly chosen elite target can force another rotation without improving the raid chest progress. Because exact Armor damage output varies with character stats and team composition, test the encounter with a conservative gas reserve rather than relying on a fixed number of refills.
Understanding Raid Targets and Combat Priorities
Target priority determines how efficiently a raid rewards the whole team. This part of the Attack on Titan Revolution raid guide focuses on identifying the threat that can end a run, then preventing other players from attacking it at the same time. The best damage is damage that does not remove your teammate from the fight.
Handle the immediate danger first
In an Attack on Titan Revolution raid, crowd control matters as much as damage: letting ordinary enemies surround your squad can interrupt attacks on the raid boss, consume movement space, and pull focus from the reward area. For example, if a group of common soldiers reaches the chest while the Armored Titan is winding up, clear them first or reposition so your characters keep a safe angle toward the objective. Use the priority list below to prevent accidental crowding and protect raid rewards.
-
First priority: An enemy that can quickly damage the team or end a run.
-
Second priority: A target standing near the reward area or blocking the safest route.
-
Third priority: A high-value elite that contributes meaningful experience or rewards.
-
Fourth priority: Common enemies needed to clear the encounter.
-
Last priority: Targets that are far from the objective, difficult to reach, or offer little immediate value.
Compare the main raid encounters
The Armored Titan raid concentrates attention on endurance and positioning. The encounter is inappropriate for a player who relies entirely on one heavy hit, because repeated attacks and clean repositioning matter more than a dramatic opening strike. The Aberrant raid should be treated as a target-priority encounter: identify the behavior that creates the greatest risk, then make sure only the necessary players are exposed.
| Encounter | Primary concern | Best team behavior |
|---|---|---|
| Standard raid | Maintaining the group rotation | Divide targets and protect the reward path |
| Aberrant raid | Controlling the most dangerous target | Concentrate only when the threat requires it |
| Armored Titan raid | Sustained damage and mobility | Save gas, preserve durability, and avoid wasted attacks |
The distinction between an Aberrant encounter and the armored version is important. The attack on titan revolution aberrant raid rewards precise attention to the active threat, while the attack on titan revolution armored titan raid tests whether the team can maintain pressure without draining every mobility resource early.
Avoid overlapping damage
Coordination does not require complex commands. A simple rule is enough: one player calls a target, nearby teammates confirm, and everyone selects a different angle. This reduces wasted damage and makes it easier to identify who is out of position.
Community gameplay reports emphasize that raids become sustainable when target priority and resource management are treated as a team task. The best raid reference is useful for comparing which encounter currently fits a developed account, but group coordination still matters more than simply selecting the hardest available fight.
Raid Rewards and Chest Value
Raid rewards explain why preparation and chest collection deserve their own section of the Attack on Titan Revolution raid guide. A successful clear is only half the result; the team must also reach and open the raid chest before leaving. Because exact drop rates can change with updates, distinguish confirmed structure from community-reported percentages.
Understand the raid chest
The raid chest is the central reward container associated with the completed encounter. Its value comes from the serum or gear it provides, but the item inside may vary. Do not assume every chest contains the same rarity or that one personal attempt can establish a reliable drop rate.
| Reward source | What it represents | Best handling method |
|---|---|---|
| Raid chest | Primary container from a completed run | Clear nearby enemies, collect it promptly |
| Serum reward | Potentially valuable progression item | Compare the obtained serum with account needs |
| Gear reward | Equipment that can improve a build | Check stats before replacing a stronger piece |
| Experience and gold | Standard encounter progression | Credit the full clear and active group bonus |
Read community-reported drop information carefully
The available community data reports an Armored Serum rate of about 0.03%. Treat that figure as a community-reported rarity indicator, not a guaranteed personal result. Likewise, broader showcase figures such as a Yeager chance near 0.1% and legendary clan results near 0.5% also need a community-reported qualifier because they are not presented here as official drop-rate tables.
| Reported item or rarity | Community figure | How to interpret it |
|---|---|---|
| Armored Serum | About 0.03% | Extremely rare according to community reporting |
| Yeager | About 0.1% | Showcase-based community estimate |
| Legendary clan | About 0.5% | Showcase-based community estimate |
For current information, consult the Attack on Titan Revolution community video on waves and progression. It focuses on sustained performance beyond wave 50, which explains the broader endurance principle behind successful raids even though it is not a raid drop chart.
Protect the reward before leaving
Teams frequently lose value when the chest sits exposed and someone is caught fighting a distant enemy. Assign one player to watch the reward area while the rest of the group handles threats. Once the encounter is stable, collect the raid chest immediately and confirm that it has been added to the inventory.
A chest is more valuable when its contents can be used or sold after the raid. If you need a specific serum, preserve inventory space and avoid discarding a temporary reward before checking it. The same rule applies to rare gear: compare its stats with your current build rather than equating rarity with an automatic upgrade.
Efficient Raid Routing and Farming Plan
An efficient route balances completion speed, reward access, and resource use. The Attack on Titan Revolution raid guide should not tell you to repeat one encounter endlessly without considering what the account needs. Community preparation notes describe a practical rhythm: raids provide the serum and gear route, while Waves provides Shards, so alternating the two can support different progression goals. For a solo player, the solo raid strategy provides a more focused route. The key test is whether your build can sustain a complete rotation without relying on another player to draw attention or collect the reward.
Choose the route by reward need
| Current goal | Better activity | Reason |
|---|---|---|
| Hunt a specific serum or gear | Repeat the relevant raid | More direct route to raid-based rewards |
| Accumulate Shards | Run Waves | Waves are described as the main Shard source |
| Test a solo clear | Attempt a manageable raid | Confirms whether the build has enough gas, durability, and health |
| Improve team efficiency | Form a coordinated group | Clear priorities reduce wasted damage and resource loss |
Raid Guide: The Repeatable Run Loop
Use a consistent sequence for every farming session. Start by checking the current raid, then verify the group bonus and party size, and complete the encounter without unnecessary side fights. Collect and inspect the chest before leaving, then decide whether another raid or a Waves session best fits the current goal.
-
Check requirements: Confirm level, cooldown, and access before committing.
-
Prepare sustain: Bring enough gas, durability, health, and inventory capacity.
-
Set priorities: Agree on the first target and the reward-area watcher.
-
Limit waste: Do not overuse consumables or split damage inefficiently.
-
Secure rewards: Reach the chest and confirm collection.
-
Rotate intelligently: Switch to Waves when the account needs Shards rather than raid loot.
Before queueing, use the raid requirements reference as a final eligibility check for level, cooldown, and access restrictions. This is especially useful for time-sensitive reward runs: a missed cooldown can mean another wait, while an ineligible raid may consume the attempt without producing raid loot. Check the displayed entry cost, group-bonus condition, and required level before assembling the party; if any one fails, adjust the squad or postpone the run rather than entering a doomed queue.
Track results without inventing certainty
Keep a simple record of the encounter, chest item, team bonus, and approximate number of clears. Personal results can reveal which route is producing useful gear, but a small sample does not establish a true drop rate. Separate observed results from community estimates, and update your expectations after balance changes.
| Metric | What to record | Purpose |
|---|---|---|
| Encounter type | Standard, Aberrant, or Armored | Identifies the source of the reward |
| Clears completed | Number of successful runs | Measures farming effort |
| Chest result | Serum, gear, or other item | Tracks practical value |
| Group bonus | Active or inactive | Explains part of the reward difference |
| Run status | Complete or interrupted | Prevents failed runs from skewing records |
Team Roles, Solo Play, and Recovery Tactics
Even the strongest player can perform poorly when the team lacks roles or communication. This part of the Attack on Titan Revolution raid guide turns basic preparation into a system that can recover from mistakes. The priority is not perfect execution; it is keeping damage, resources, and rewards from collapsing at the same time.
Assign simple roles
Role assignment should reflect what each player can reliably perform in the attack on titan revolution raid. A player who cannot reliably absorb the Armored Titan’s attacks should not be labeled the “tank,” because inaccurate role calling can expose the raid group during OdmGear movement and leave teammates without protection. Assign the tank only when that player can maintain positioning, redirect enemy aggro, and survive long enough for damage dealers to complete their rotations; otherwise, distribute the raid chest protection and target-control tasks across players who can actually execute them.
-
Leader: Selects priorities and confirms that the group stays together.
-
Damage dealers: Attack separate targets unless concentration is required.
-
Mobility support: Reaches exposed enemies and assists the reward route.
-
Reward watcher: Protects and collects the raid chest during combat.
These are task labels, not fixed character classes. A flexible player can switch roles as the encounter changes, which is especially useful in the attack on titan revolution attack raid when the initial target disappears or the group is forced to reposition.
Recover after a mistake
A failed approach does not need to become a total loss. Reset the priority, preserve healing resources, and wait for the team to regroup. If gas is low, move away rather than attacking from an impossible position. If the team is scattered, secure the nearby area before drawing another target. The family skill setup reference can help identify passive bonuses that improve survival, positioning, or consistency. Confirm any unlock or effect details in the current game because community-tested progression mechanics may change between updates.
Know when to leave a raid
A raid that is already going badly can still consume time and items without producing useful rewards. Leaving is reasonable when the group lacks coordination, your remaining resources cannot support another rotation, or the reward route is inaccessible. The objective is to protect account value, not to prove that every clear must continue until the last enemy falls.
| Situation | Best decision | Reason |
|---|---|---|
| Low gas and distant reward | Retreat or regroup | A chest cannot be collected without mobility |
| Healing nearly exhausted | Avoid a new elite target | The team may lose the player who anchors positioning |
| Team splits across the arena | Pause and regroup | Concentrated defense is safer than scattered pursuit |
| Chest secured and objective complete | Leave cleanly | Further combat may waste resources |
These decisions are especially important for the attack on titan revolution raid chest, since the chest is only useful if it reaches the inventory. Preserve the opportunity by treating collection as part of the encounter rather than an optional afterthought.
Rare Drops, Cooldowns, and Realistic Expectations
Rare rewards can make raids exciting, but unrealistic expectations lead to wasteful grinding. The Attack on Titan Revolution raid guide should separate clear goals from speculative statistics. Based on community testing, a specific serum may be extremely rare, but the most useful approach is still to improve clear quality, protect rewards, and track personal outcomes honestly.
Rare does not mean guaranteed
Community-reported figures provide context, not certainty. A 0.03% Armored Serum rate would imply roughly one result per 3,333 comparable chest openings in a perfect random model, but real outcomes vary and the figure is not an official promise. The sample also depends on the exact loot table and encounter tested.
Avoid converting a community estimate into a guaranteed farming schedule. Instead, set a session goal, such as completing a set number of clean raids, then evaluate the results. If the chest contains an item the account can use, the run has immediate value even when it does not produce the rarest serum.
Account for cooldowns and access
Raid farming is only efficient when you can enter the encounter. Check the stated raid level and cooldown information before preparing consumables or organizing a full group. A five-player group that cannot enter is less useful than a smaller ready group. If an entry becomes unavailable, use the waiting period for Waves or normal progression instead of forcing an inefficient attempt. The Attack on Titan Revolution achievements guide can provide goals that do not depend on rare chest drops.
| Planning factor | Best practice |
|---|---|
| Cooldown | Time the next entry before committing to another activity |
| Entry requirements | Confirm access and level before gathering resources |
| Group size | Favor coordination over unnecessary players |
| Inventory | Keep enough room for the chest and temporary gear |
| Update changes | Recheck community data after balance updates |
Set session goals
A complete run, a collected chest, and a rare serum are different goals in an Attack on Titan Revolution raid, so tracking them separately prevents disappointment and gives a clearer measure of efficiency. Completion matters when the objective is simply to clear the raid, while collection requires deliberately checking and securing the raid chest before leaving. Rarity is a separate pursuit: if the goal is a specific serum or legendary item, a failed drop should not be mistaken for an incomplete run. Recording which objectives were achieved also reveals whether the session produced useful resources for the next build rather than focusing on one rare reward.
-
Goal 1 — Completion: Clear the encounter and reach the objective.
-
Goal 2 — Collection: Secure the raid chest before leaving.
-
Goal 3 — Efficiency: Finish with useful resources remaining.
-
Goal 4 — Rarity: Hunt a specific serum or legendary item.
Most farming sessions should prioritize Goals 1 through 3. Chasing Goal 4 is reasonable when the account has the strength and resources to continue, but it should not cause a player to abandon a usable build or spend every consumable on a single opening.
Frequently Asked Questions
What should I bring to an Attack on Titan Revolution raid?
Bring enough gas for sustained mobility, durable blades for repeated attacks, and healing for meaningful damage. The verified preparation notes emphasize gas, blade durability, and health because a raid ends when those resources run out, not simply when one target falls. Keep inventory space open for the raid chest and temporary rewards.
How do I collect the Attack on Titan Revolution raid chest?
Reach the chest after the encounter is stable, then interact with it before leaving the area. Assign one teammate to watch the reward location while others handle distant threats. Confirm that the chest appears in your inventory before exiting, because defeating the objective alone does not guarantee that its rewards were collected.
Are the reported raid drop rates official?
The available percentages for the Armored Serum, Yeager, and legendary clan results are community-reported figures rather than an official drop-rate table. The reported Armored Serum rate is about 0.03%. Treat all such numbers as estimates that may change after updates, and use personal records to evaluate your own results without assuming every chest follows the same distribution.
Should I raid alone or join a group?
A coordinated group is generally better for normal farming because it can divide targets, protect the reward area, and recover from mistakes. Solo clears become realistic when your build has enough gas, durability, healing, and damage to sustain the full rotation. Check level and cooldown requirements before forming a group so nobody arrives unprepared.
Which raid should I farm for serum and gear?
Choose the raid tied to the reward you need and confirm that the group can complete it efficiently. Raids are the direct serum and gear route, while community preparation notes identify Waves as the main Shard source. Alternating between the two can be useful when you need different resources instead of repeating one encounter without a clear goal.